Diagnosing sourdough that’s not rising properly
To be absolutely clear, flat pancaked loaves are one of the most common issues in the sourdough bread world. There is no reason to feel like a failure or to be tempted by forfeiting the amazing learning process that is sourdough.
Many bakers have experienced the same results you may be getting right now! Stay calm, and just keep baking. In truth, pancake loaves are still edible!
OK, so what’s the deal exactly? Is your flat loaf just a one-off or are your non-risen loaves a re-occurring issue? Because sourdough is based on naturally occurring yeast, many facets are different each time you bake. Using a consistent process and schedule can be the best way to improve your bread in the long run. The idea being; that you change things incrementally, applying what works and leaving what doesn’t.
It can be tough to nail down exactly why a loaf didn’t rise a satisfactory amount. At times, the best we have are guesses. That being said, there’s some concepts that are contributing factors across the board. Let’s get into them!
1. Use starter when it’s ready
As you likely already know, starter is the king of the show. If it’s not treated right, matured properly, or mixed into your dough at the right time, it can easily be giving you undesired results.
Ensuring your starter is not too young
If you’re new to baking sourdough, and you’ve created a starter from scratch, well done! However, there’s a possibility you’re using your starter before it’s mature. Don’t be fooled by the early activity.
This is starter that is only 20 hours old. Look how it more than doubled:
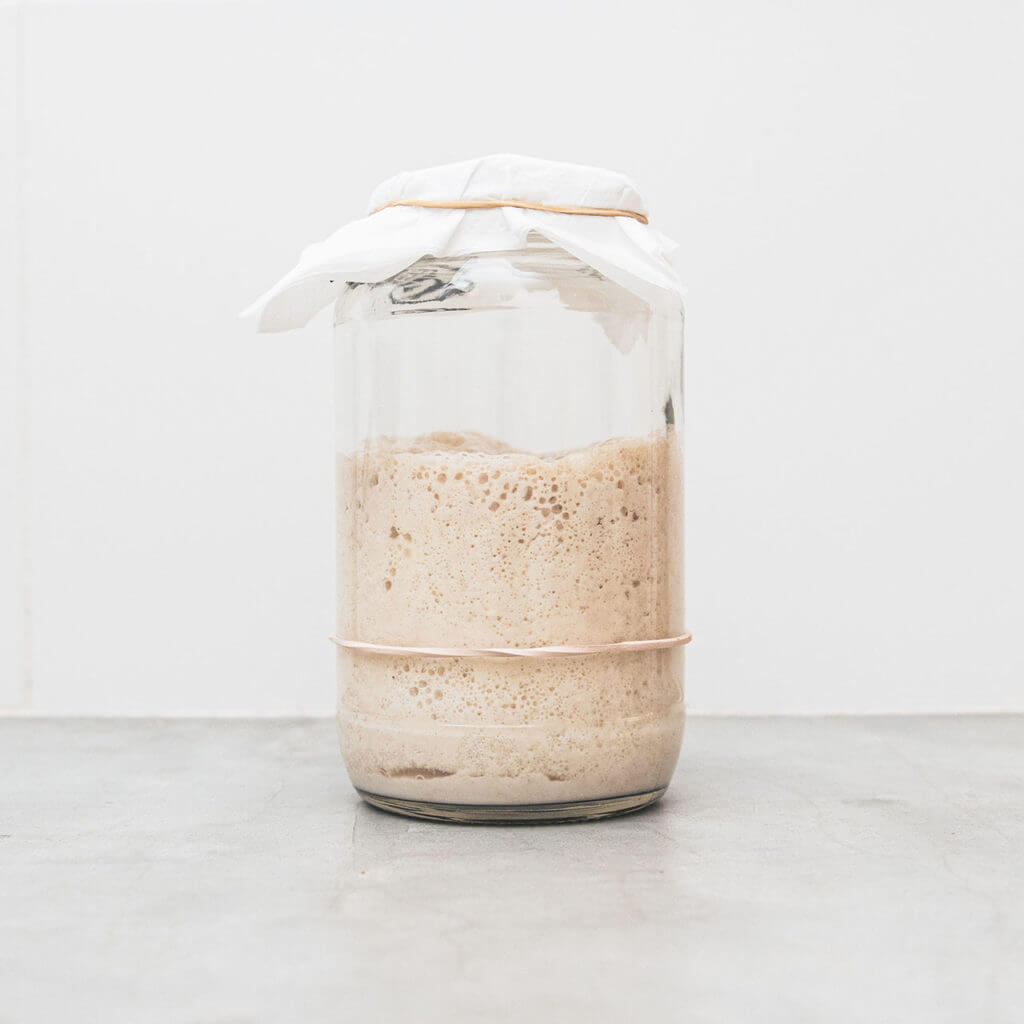
Sometimes people experience a doubling in size after the first day, or depending on circumstances, for a few days after the starter’s creation. With all the excitement, they mix it into dough, go through the baking process for the first time, and are presented with a brick of a loaf. This can be happen because of the natural yeast that’s existent in the fresh flour, but is just not able to cause a whole loaf to rise. The starter will need more days to continue developing. Don’t give up!
Make sure that you see a doubling in size for several days before you’re convinced it’s ready for dough. Otherwise your flat bread might not sit too well on your stomach. If you’ve been feeding your starter for many days, and are still waiting for rises, I have a couple different suggestions:
- Make an effort to use more than just white bleached flour. Add in some rye or whole wheat to your starter feedings. It might sound weird, however, those heartier flours have more yeast cultures. Your starter will be stronger and healthier for it.
- Check that you’re not killing the culture with chlorine or chemical content from tap water. You can try allowing the water to sit in an uncovered glass overnight to allow the chlorine to dissipate. Otherwise, you can try using a good charcoal water filter or bottled water.
If you’re desiring to make your own starter but don’t know how yet, check out my article on how to make a sourdough starter.
Using your starter at the right time
For the best results, you’ll want to utilize starter once it has doubled or peaked in size after a feeding. This ensures it’s strong, healthy, and ready to start its fermentation in the dough.
For me, my starter will nearly triple in size after a feeding in about 6-7 hours at 30 °C (86 °F) indoor temperatures. At those temperatures I feed my starter twice per day, but could easily feed it three times to keep it a bit more active. If I introduced one more feeding, I think it would rise sufficiently in 4 hours. The point here: the longer a starter goes without a feeding after it has peaked, the longer it may take to rise after the next feeding. Moreover, if I were to skip a day’s feeding in these temperatures, my starter would need one or two feedings before I’d want to use it in bread. If I forgot about it for three days, it might need two to three days of recovery before use in bread.
You could end up with a flat loaf if you’ve used sleepy starter. If you didn’t see a considerable rise during the bulk fermentation, your starter is likely to blame, and it will probably not have risen much in the oven. Pay attention to what your starter needs in your climate.
2. Autolyse your bread dough more, less, or not at all
Overall, I’m an advocate for making time to autolyse dough before adding starter. I’ve witnessed the change in my dough with and without. Without, my dough is rigid and weak. With, my dough is strong and flexible. Dough should be baked having had its strength developed, otherwise it will collapse in the oven.
The kind of flour and level of hydration will be the biggest things determining what autolyse length is best. In “How to Autolyse,” The Perfect Loaf outlines factors commonly at play, and how you might handle each. They have an example set of two loaves with and without autolysis. In that example, the loaf without was weaker and resulted with less volume (a slightly diminished rise).
The article also explains a theory that (in limited cases) an autolyse for too much time can make dough lose its structure and be too sticky.
How to incorporate or adjust the autolyse process
If you haven’t already, I would consider adding an autolyse process starting with 15 minutes, then add your starter. If it proved helpful, you can keep repeating that process, or you can try making it longer to see if it helps even more.
It’s my theory that the quicker a flour ferments (thinking about einkorn for example), or the less protein a flour has, the increased need for an autolyse.
Denser, lower hydration loaves (~65%) seem to be less prone to collapsing in the oven than high hydration loaves (~80%). Switching to lower hydration may be the easiest solution to getting a better loaf. There are more variables to perfect in order to get a high hydration loaf to bake the way you desire.
If you’re finding high hydration dough to be too way too sticky, consider dropping the autolyse and note the changes.
It’s difficult to provide exact recommendations for your set of circumstances. My suggestion is to take these ideas into consideration, and experiment for yourself. It can be helpful to record notes along the way.
3. Stretch & fold dough the right way
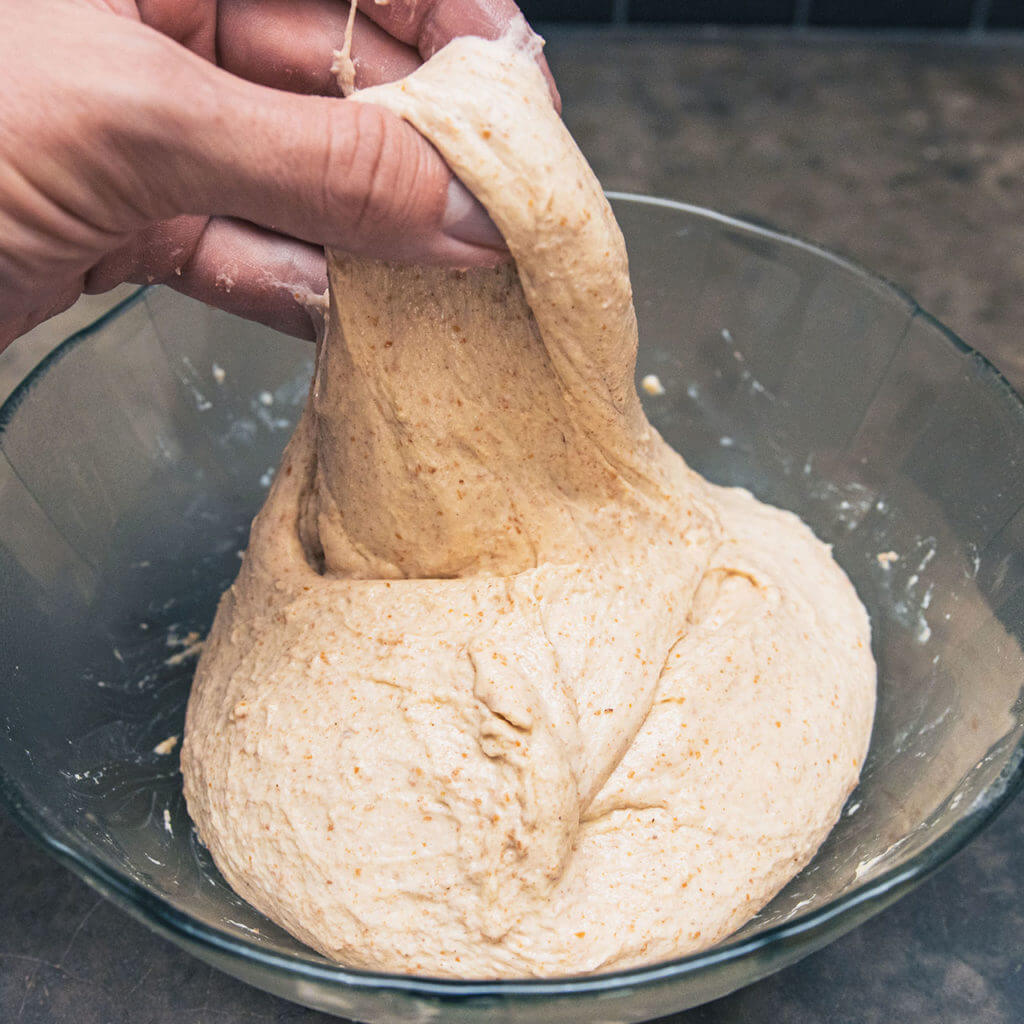
One common misconception is how to properly do a series of stretch and folds. For starters, there are a couple primary reasons why we stretch and fold dough:
- It’s an amazingly effective way to develop the gluten protein structure within the dough.
- It’s a way to introduce more air throughout the dough, developing the gassy bubble content.
Let those reasons drive your methods. If you are accomplishing those two things, then you’re doing it correctly. That being said, be careful not to tear the dough during this process.
How many stretch and fold are necessary?
Many sourdough recipes tell you exactly how many stretch and folds are required. These should always be taken as loose guidelines. It’s a good idea to learn the signs of dough that is developed enough.
If you stop prematurely, the dough has a chance of not being strong enough to hold shape while baking. If you were too aggressive, and tore the dough excessively each stretch and fold, then perhaps it wasn’t able to hold a reasonable shape.
Make mental notes regarding how your dough handles when you first mix it together vs when you’ve done 4-6 stretch and folds. Notice a difference? Once your dough is noticeably stiffer or stronger and has started to become puffier, then it’s likely finished and ready for its bulk rise.
4. Avoid over-proofing your dough
Avoid over-proofing your dough by keeping an eye on it through the bulk fermentation process. Once it has significantly increased in size (approximately doubled), is somewhat rounded and smooth on the top, then it’s finished and should be shaped.
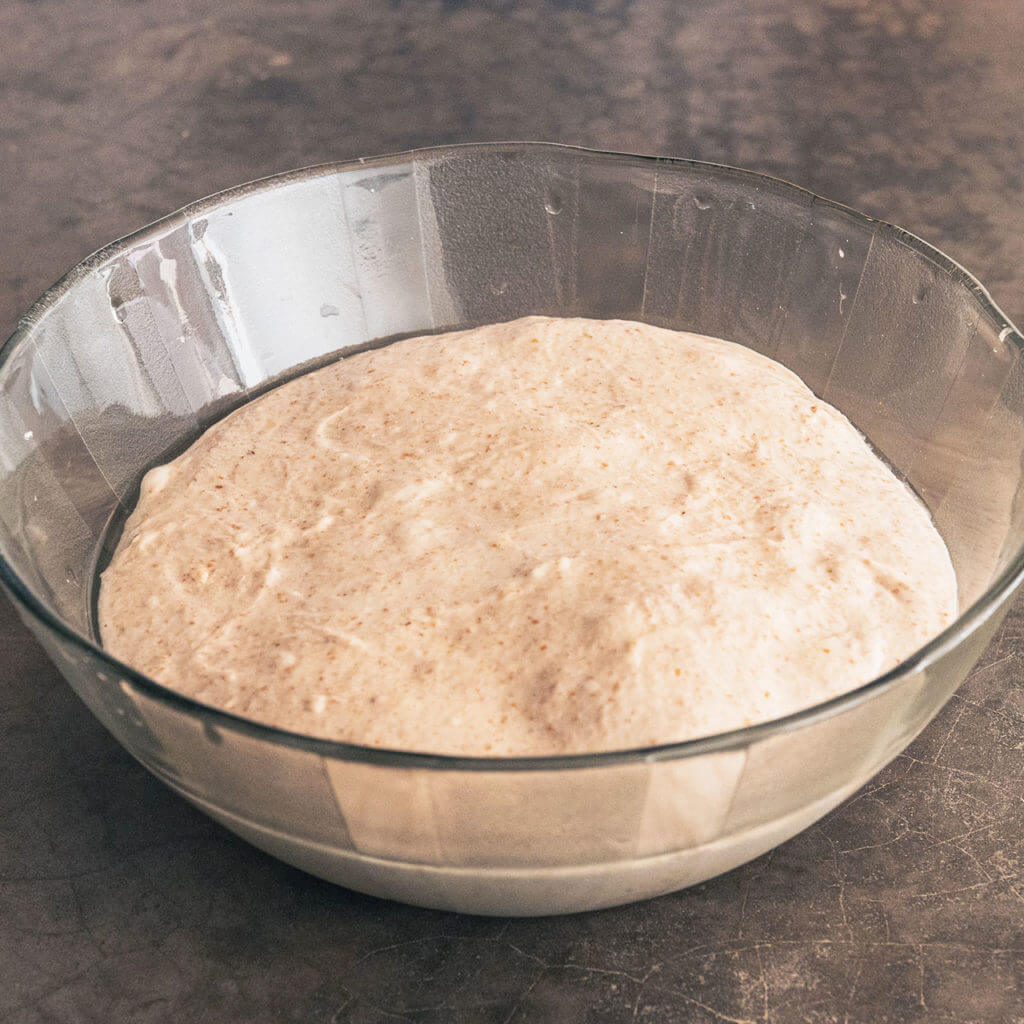
If you fail to shape, reduce the temperature, or bake immediately once the bulk ferment is done, the dough will over-ferment. The result will be a loose dough not able to effectively rise.
A cold ferment in the fridge is a great way to follow up your bulk fermentation. Your dough can develop much flavor this way. And since it can take a long time to sufficiently cool down in the fridge, it’s important to shape your dough, and potentially cool it in the freezer (for 30-60m) before your extended cold ferment.
The Pantry Mama has a great article on the differences between bulk and cold fermentation. She explains that dough resting above 4 °C (39.2 °F) will continue allowing the yeast to develop in the dough. Meaning, if you’ve done a proper bulk ferment, then placed in the fridge (that’s above 4 °C) for 10+ hours cold fermenting, the dough will almost certainly over-proof.
5. Shape your dough prior to baking
In order for a bread dough to spring well in the oven, it needs to have a certain amount of tension built beforehand. This is commonly achieved by performing a “shaping” to your dough.
It may not be possible to accomplish this if the dough over-proofed or was too sticky and loose from an extended autolyse period.
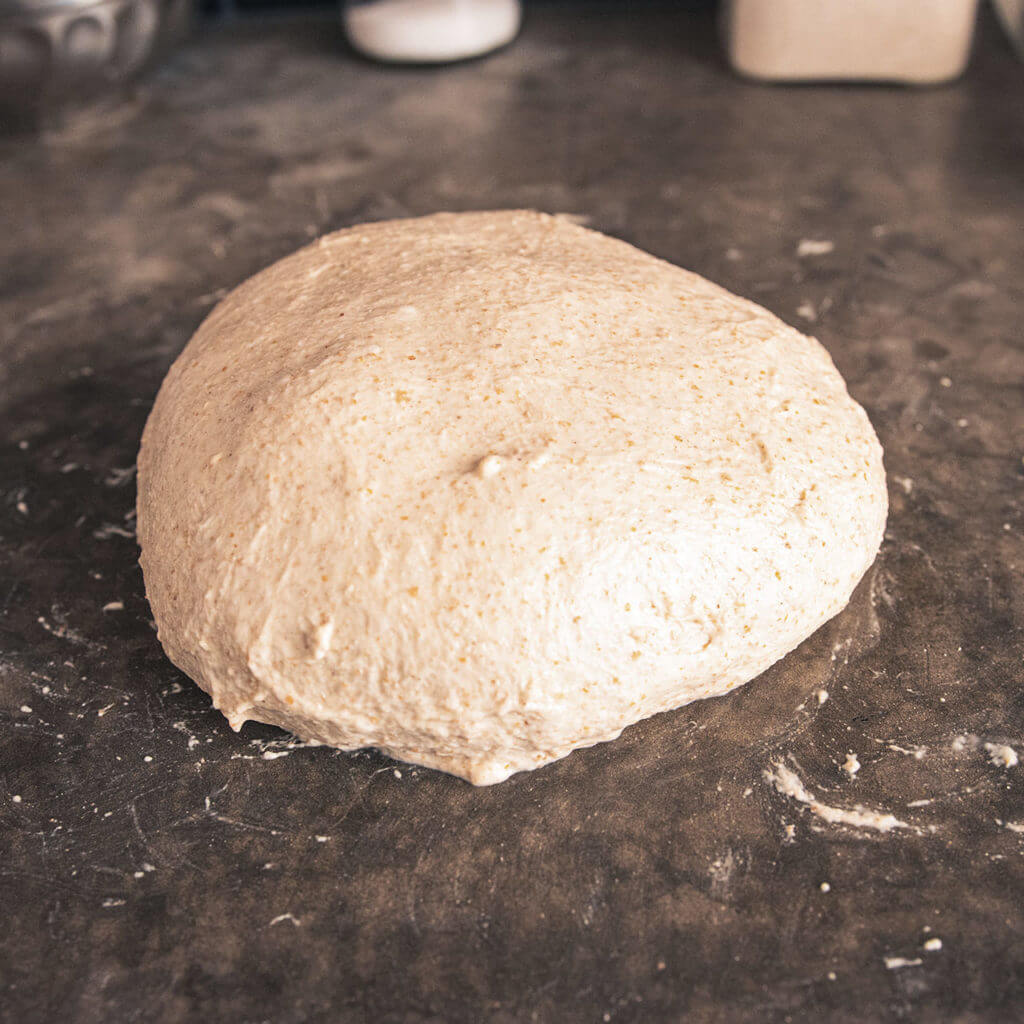
For best results, shape immediately after the bulk fermentation. Optionally, some people choose to shape immediately before baking and still get a good rise. The choice is yours whether to shape while it’s warm and easy to manipulate or while it’s cold and stiffer.
Was this helpful?
Let me know if this provided you with any new ideas on making sourdough rise better!
Feel welcome to drop a comment about your own insights too! I’d love to hear what has and hasn’t worked for you!
Leave a Reply