Have you ever made an attempt to understand something and ended up more confused than when you started?
This was me when I ventured down the path of learning how to make sourdough bread. I quickly learned that sourdough needs a starter to get things going. I remember hearing about people ordering some kind of mysterious ninety year-old starter from some hipster country in Europe. Frankly, I abhorred the idea of buying a premade one. I wanted to make my own legend of a thing. After much painful misery of wading through a plethora of online pages and videos, I thought maybe, I might finally have a grasp on how to make sourdough starter. That initial process was bumpy. However now, I’ve made many loaves from that same starter.
I’m glad my cousin and I opted to make our starter from scratch. We learned more through making our own than buying one. Our starter took a lengthy time to become active. In fact, the longest time possible that we’ve heard of. When things weren’t seeming to progress, we didn’t cave to the alluring idea that maybe our starter was just dead. We kept on, and eventually things worked out.
There exist a lot of tutorials online about this process. Many of them include a lot of extra irrelevant information or leave a multitude of other possibilities and questions left unanswered. I’m here to help lay things out in a way you can easily understand. If you found this guide to be confusing or missing of relevant information, please don’t hesitate to comment or contact us.
Why should we eat sourdough and not standard manufactured bread?
Sourdough bread is made from natural yeast as opposed to commercially manufactured yeast at the supermarket. Natural yeast is an occurring “wild” element found in and/or on many things such as wheat. We need some form of yeast to interact with our dough causing it to do two things: rise and ferment. Rising is cool, but not everything. Wild yeast’s ability to start a fermentation process unlocking incredible nutritional value from flour is the true miracle we need. And oh yeah, it makes flour digestible.
Commercial yeast is basically made from one super-strand of an element to make bread rise lightning fast. This is a downside in terms of nutritional value, and digestibility. Not to mention the army of extra unpronounceable ingredients.
What to expect making a sourdough starter
Everything is a variable that can change the outcome of sourdough. Every starter is its own living entity, each loaf is different from another, and each baker has their own adapted process.
Your first starter will be different from anyone else’s. Your surrounding circumstances such as temperature, humidity, flour type, and timing are contributing factors. What’s missing in some tutorials is the explanation of how these things drastically affect the length of time your starter will take to become active and healthy.
Some starters will be ready in five days, others take as long as two weeks.
Step 1: gather the ingredients
A sourdough starter is a mixture of flour and water. It is generally maintained daily by doing two things: discarding and feeding. We have a few words to share about the flour and water needed for creating and keeping a healthy starter. We believe these notes should prove helpful through the lifetime of your baking, too.
Please jump ahead to step 2 if you already have flour, water, and don’t want to over-complicate your situation by learning more.
Basic flour recommendations
Many flour-types exist. Even though there are “best flours to use,” it almost doesn’t matter – so long as the flour you’re using has wild yeast and other good culture.
- The most accessible type of flour is white bleached all-purpose. This will work, however this type is the lowest on the list of usable flours. It has gone through the most processing, and has the least to contribute to a healthy starter. Solely using this kind of flour may cause your starter to take a long time to become ready. Moreover, it is not a good long-term idea. Your starter may run into issues down the road. However, if you only have this kind, certainly don’t hesitate to begin!
- Unbleached all-purpose flour is one of the most affordable and usable kinds to attain. It’s much better than bleached. We would recommend buying this kind for feeding your starter and using in your bread.
- Best for price and wild yeast is whole wheat flour. Generally a good idea is to use 50% whole wheat and 50% unbleached all-purpose flour for feedings. Most bakers feed their starter with a mix, as limiting to one kind of flour is less than optimal. The idea is to utilize a range of cultures and wild yeasts in your starter.
- If you have access and a budget for rye flour, it’s among the best for mixing in with starter feedings. It is related to wheat as it is a type of grass. Rye is primarily a cover-crop (meaning grown in wheat or other harvest’s off-season). A side note: Rye has very little gluten protein – meaning if loaves are made with 100% rye flour, they have no structure and break apart easily.
Flour ratios for a healthy starter in summary:
- Good: a starter made and fed with unbleached all-purpose flour.
- Better: 50% unbleached, 50% whole wheat flour.
- Among the best combos: 50% unbleached all-purpose, 25% whole wheat, 25% rye flour.
A short note on water
Most tap-water today has chlorine content in it. Some places more than others. Though rare, this water condition has been known to delay or halt the progress of a new starter. It can be a good idea to use a charcoal water filter, or leave water on the counter overnight to allow the chlorine to evaporate before using with your feeding.
Step 2: mix flour and water
With the most straightforward creation method, your mixture is going to be a weighted one part water, and one part flour. This is also called a 1:1 ratio, or a 100% water-flour hydration level. Again, equal weight in water and equal in flour. It may be helpful to know that a 1:1 ratio by weight is different than by volume. You can achieve results close to 1:1 weight ratio using volume-based measuring units. To do that, use 2x the volume of flour as of water.
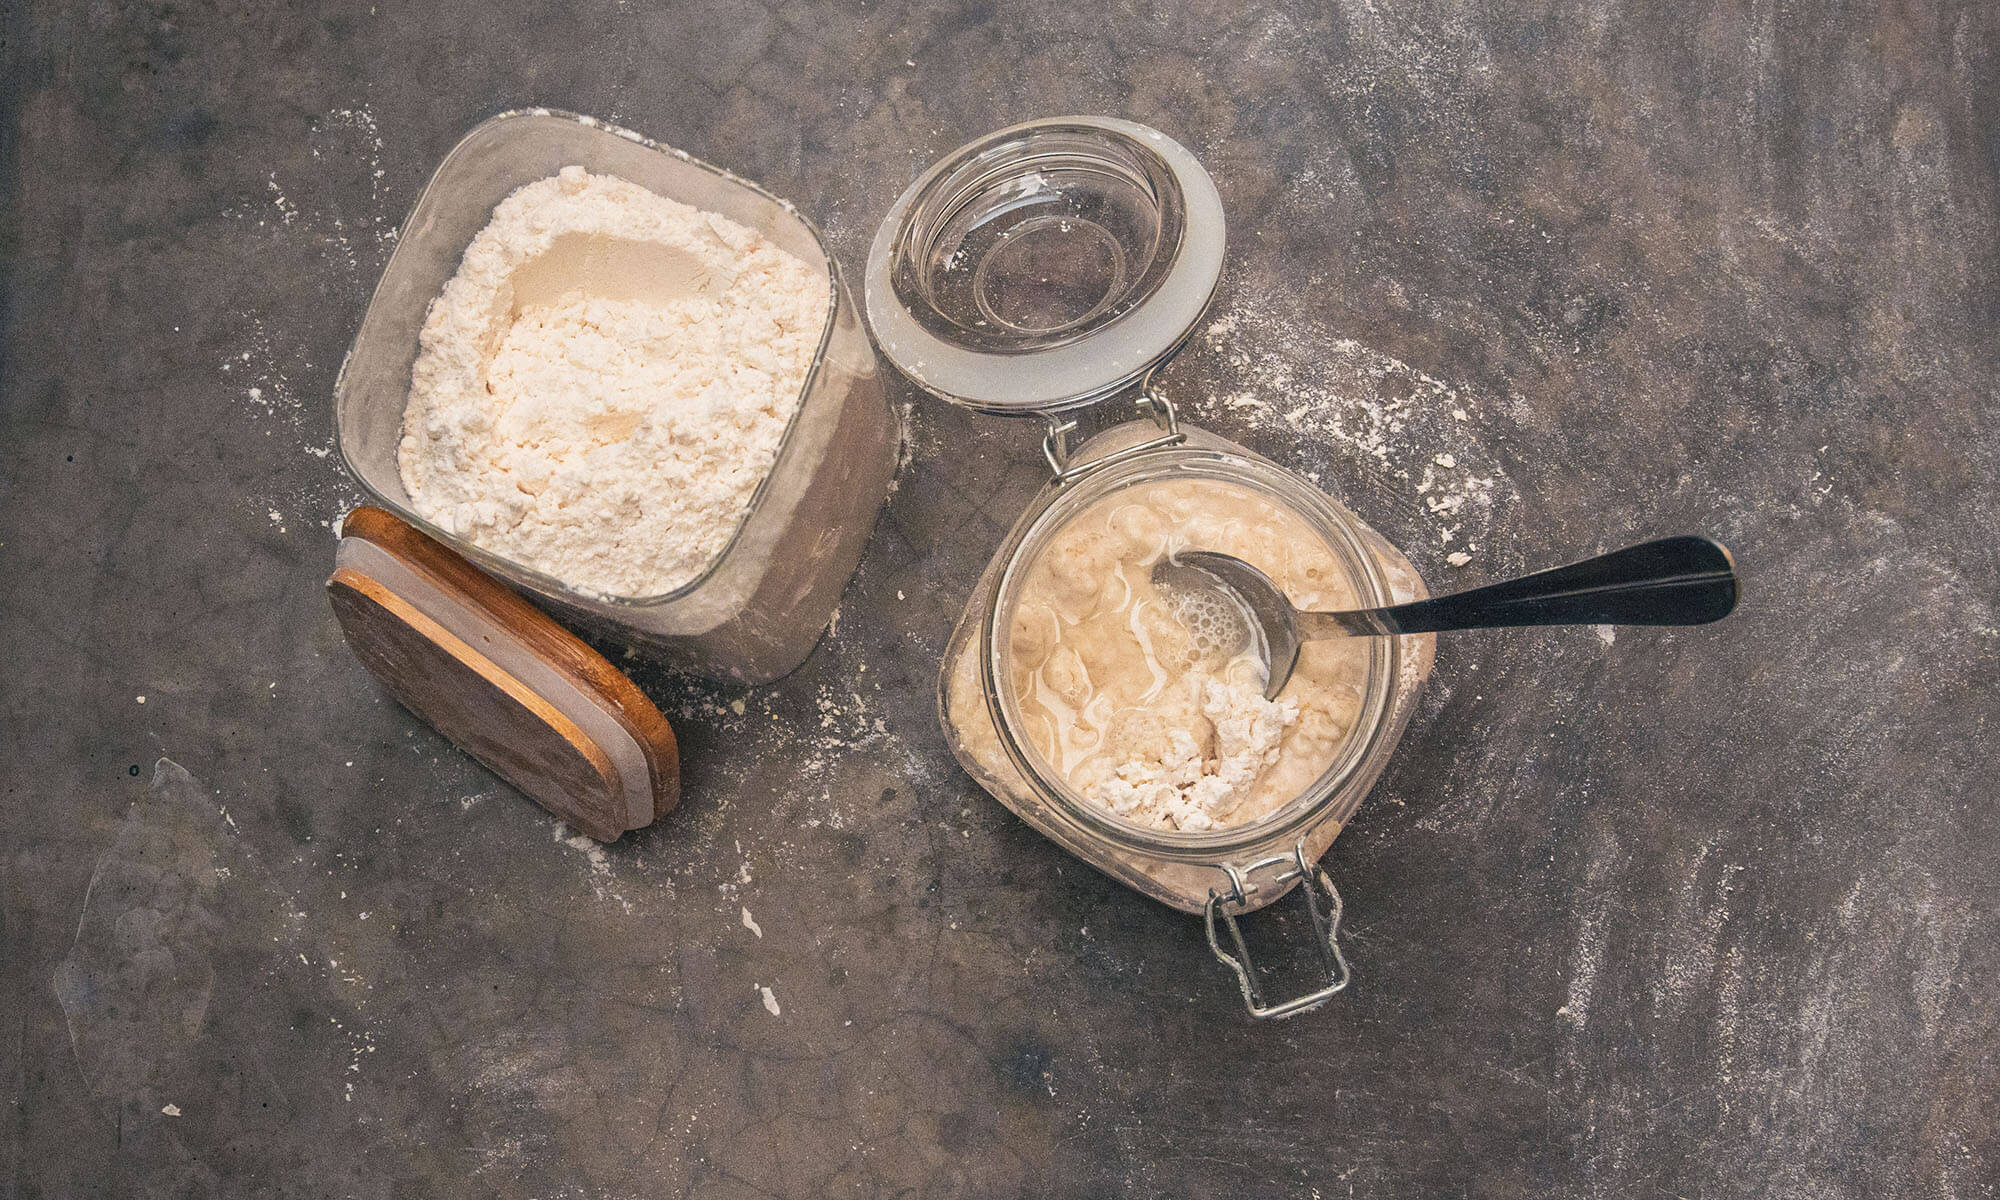
In a jar, cup, or other type of container, mix:
- 50 grams of flour and 50 grams water. Stir until all clumps are gone.
- Place cloth, paper towel, or another vented lid over top.
- Leave on counter at room temperature for about 24 hours.
Tightly sealed lids should be avoided. Starters can build too much pressure if recently fed, causing a lid to burst or worse.
Pro tip on starter size:
This is generally a good size to begin with. There can be reasons people want a larger starter. To do that, you simply multiply in units by however much you think you’ll need. If you have a recipe that calls for 75 grams of starter, then this size should suffice. If you have need of using 150+ grams of starter in a given recipe, there’s two options: maintain a larger sized starter, or make a separate “levain” from your existing starter so that way you’re not constantly feeding your starter an overbearing amount.
Pro tip on starter types:
You may find starter recipes online with different water to flour ratios than listed here. Remember, the actual starter size has no contributing difference to the many starter types that exist. Basically, there are stiff, normal, and liquid kinds. This guide leans closest to being “normal,” and is also the easiest mixture to learn. I personally never weigh or measure mine anymore, I mix by feel, and it usually ends up like a stiff starter. To geek out a little further: various starter styles make for different types of culture; affecting taste among other things.
Step 3: discard and feed
After your newly created starter has had time to sit for approximately one day, you will:
- Extract about 75% from your starter jar. This extracted content is called “discard.” You can toss it into the garbage or rinse down the sink.
- “Feed” your starter with 50 grams of water and 50 grams of flour. Mix until smooth.
- Cover and let sit on counter for one day.
Though this content is called “discard,” it’s not suitable for using in any recipes just yet. You’ll need to wait till your starter is mature.
Step 4: rinse and repeat
You will repeat step 3 each day for a total duration of five to fourteen days or until ready for use.
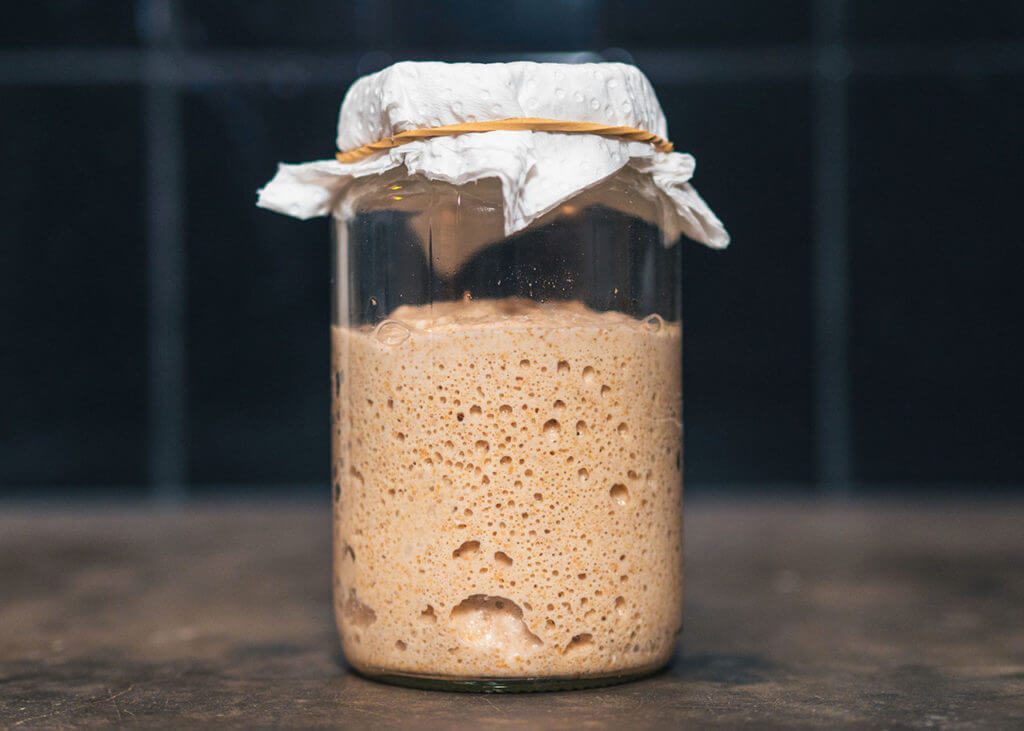
You’ll know your starter is ready for use once it is having one excellent rise and fall everyday. A good rise and fall is where your starter will double in size, and then return close to its original height.
Bubbles are a good sign. Also, you may see a brown liquid called a “hooch” on the top. Just pour the hooch off. This seems to occur the more liquid-like a starter is.
The top of your starter may also form a thick layer, especially in cases of warmth or in extended periods without being fed. That layer can get moldy. This does not mean your starter is dead or a health risk. Gently scrape that part off and toss it out.
You may notice your new starter is active after the first day or three, this doesn’t mean the starter is ready. Often a new starter can have a short burst of yeast activity, then seem to go dormant for several days. Don’t be tempted to throw in the towel at this point! Keep up with your feedings each day, and things should resolve!
Step three will be your basic procedure for all discard and feeding from here on out. Once your starter is consistent, you’ll repeat this process once or twice each day. Generally speaking, if your ambient house temperature is warmer than 24°C (or 75°F), it’s a good idea to feed your starter twice per day. However, this routine is not mandatory in all cases. You must learn to watch how your starter is responding in its environment. If you see it’s “peaked” (doubled in size) very quickly, then it’s time for higher feeding frequency.
Pro tip on baking:
Sourdough starter is considered perfect for use in baking moments after it has reached its peak. Many bakers put a mark, piece of tape, or rubber band around their jar to record the starting height right after a feeding. This gives them an idea of how much their starter has risen.
Often the temperature or humidity of our homes is in high fluctuation. This will bring about a difference in behavior from your starter. You can choose to work with that or you have another option. If you find that you will not be baking very frequently with your ready-to-use starter, you can store it in the fridge. At the average fridge temperature, it will require a feeding once per week. Just don’t forget about it!
Pro resources on sourdough science:
Maybe you want to learn more once you’ve got the basics solidified. The Sourdough Librarian has many helpful resources. One of which is a short video on the science behind sourdough starter. One thing I learned from this video is that anything kept under a PH level of 4.2 remains pathogen-free: “The science behind sourdough” – https://www.youtube.com/watch?v=l_8UDwFETZo
And here’s one about some of the amazing laboratory research on sourdough: “Professor Marco Gobbetti: about sourdough & health” – https://www.youtube.com/watch?v=OnJYTimk2PU
Let me know how this went for you and what you chose to name your new creation!
Leave a Reply