About this bread recipe
Once one has learned the basics of sourdough, I’d encourage experimenting with other elements such as flour types, mix-in flavorings and toppings. Things can get boring if you stop switching it up and learning. Blueberries are perfect for sourdough bread!

This recipe calls for an active sourdough starter. If you don’t have one and are interested in making one, I have a guide written on making your own sourdough starter. If your starter has been keeping in the fridge. Take it out one day before preparing bread. Feed two times before using.
Adding berries and other fruit to sourdough
Fruit-infused baking is commonly associated with pies, muffins, or waffles. Can we really add in fruit such as berries to bread? And what’s the point? There are actually copious varieties of bread, many of which are sweet breads. Adding blueberries to sourdough is a bit like making a sweet bread.
Blueberries are only a little sweet, not altogether. Their taste greatly depends on where they’re sourced or level of ripeness. They carry their own unique flavor profile that can’t be likened to anything but themselves. Blueberries are packed with nutrients and make for gorgeous looking bread.
Amazing combo ideas to pair with blueberries
Blueberries are one of the best choices for bread. They’re also great additions for scones, coffee cake, cobbler, or pancakes. The best part is that they’re incredibly versatile, working with a myriad of other flavors. Here’s four other add-in ideas:
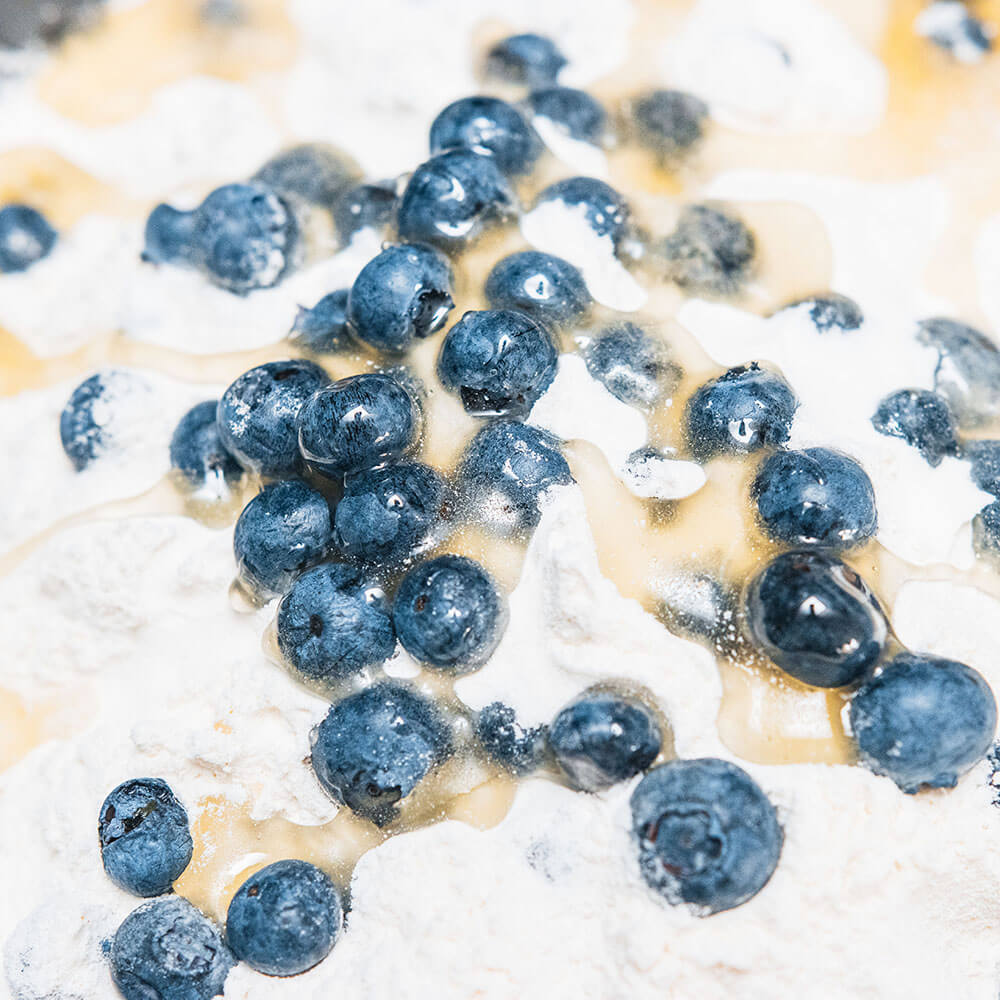
1. Blueberries + honey
Since sourdough is already superior in nutritional value to manufactured “wonder” breads, many purist sourdough bakers avoid adding sugar. Natural pure honey is the go-to for added sweetness and moisture.
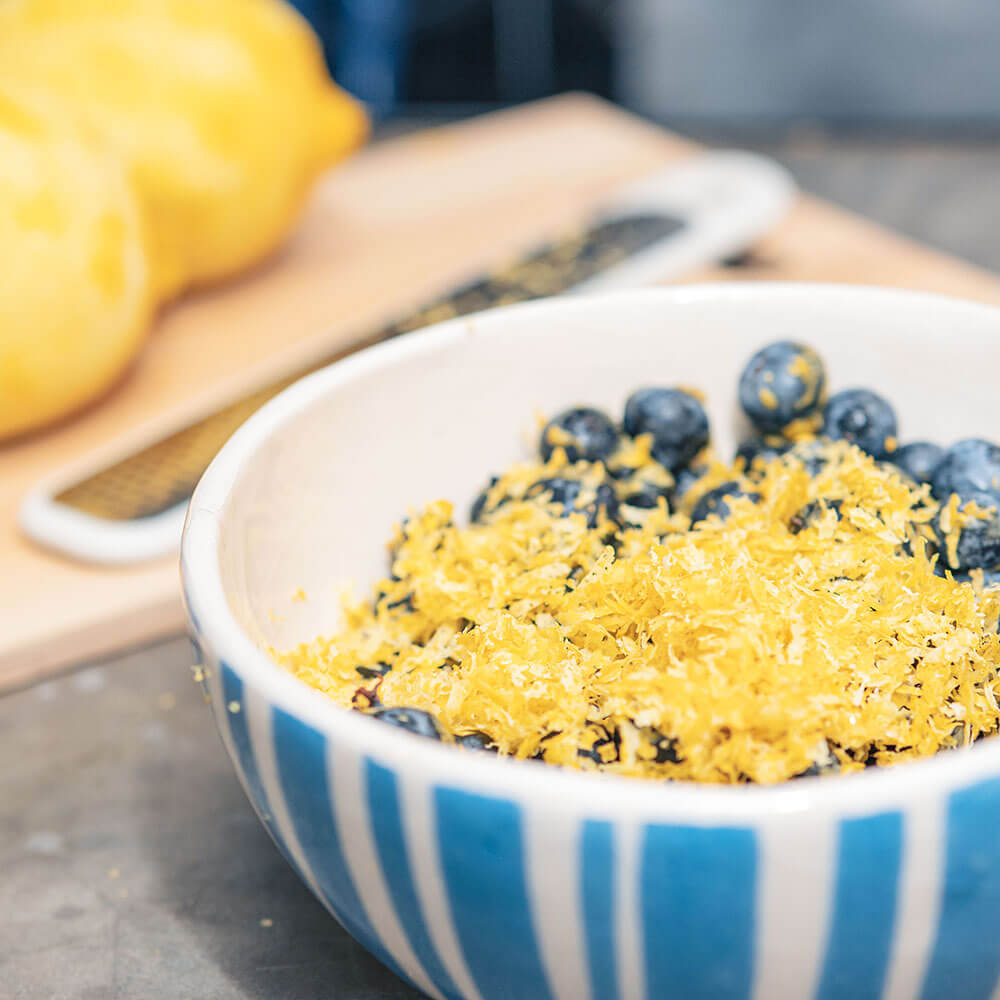
2. Blueberries + lemon zest
To add some tangy zip, look no further than gold ol’ lemon zest! For the average sized loaf, one or two normal lemons will do the trick. Make sure to find lemons that haven’t been sprayed with anything, and wash them well before zesting.
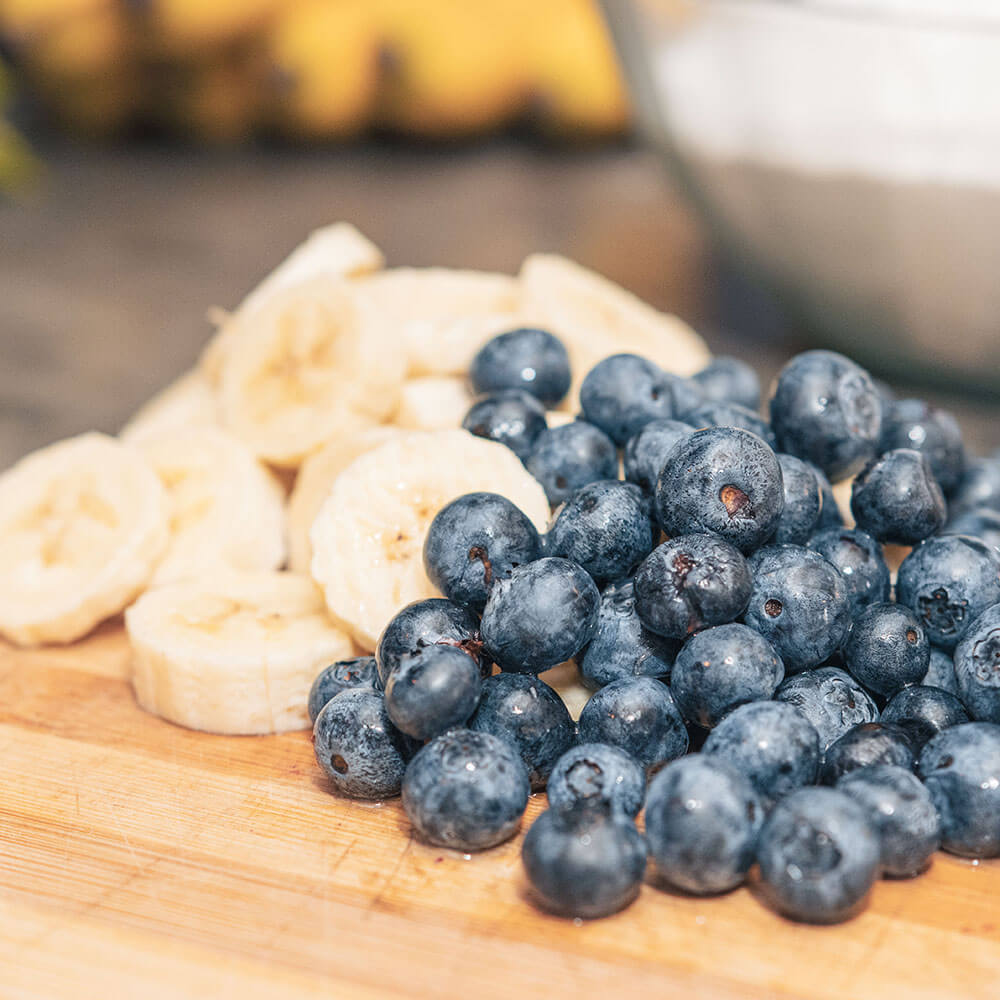
3. Blueberries + banana
Banana sourdough bread is a wonder of its own. Including blueberry elevates it to another level. You can try chopping or mushing bananas for addition to your normal recipe, or you can try out a dedicated banana sourdough bread recipe. Both are good. Beware that banana can change the hydration level noticeably.
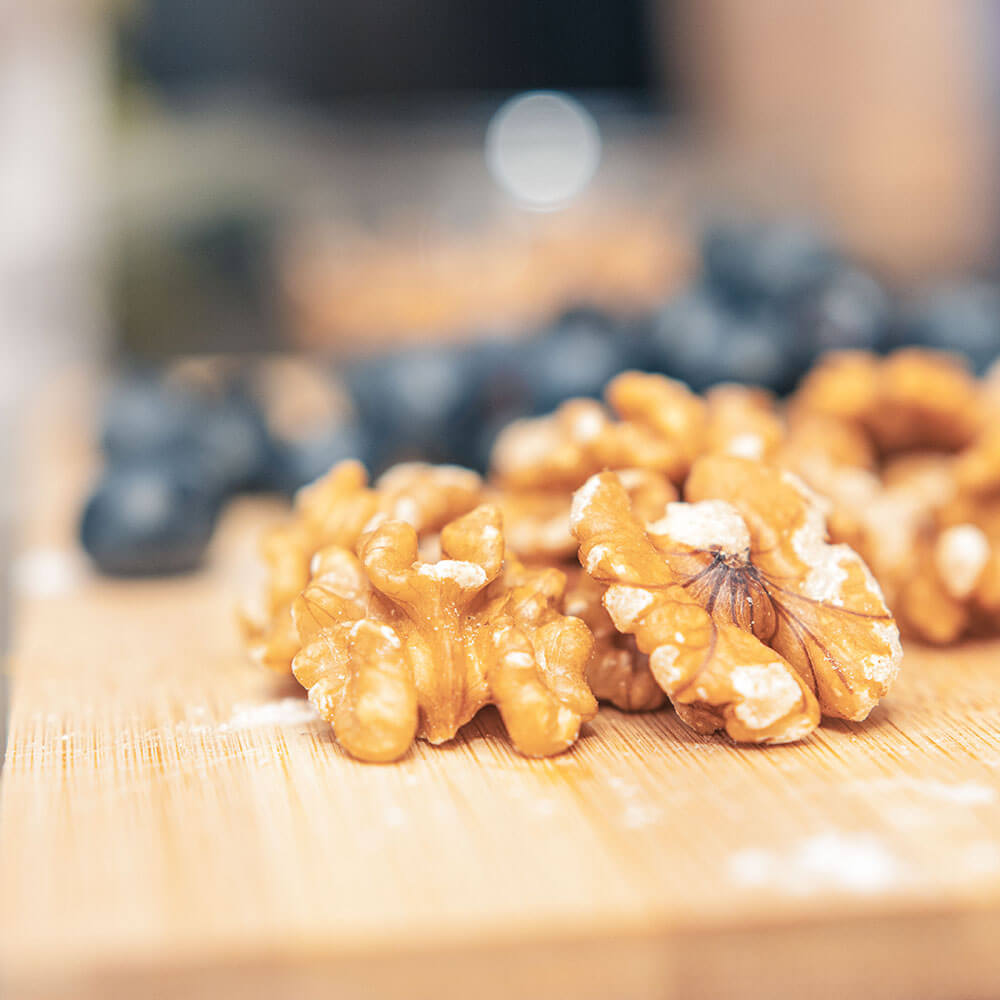
4. Blueberries + walnut
For a little extra nutritional value and nutty flavor, walnuts make for a very reasonable add in to sourdough. They are soft; making their added texture not super noticeable. Somewhere around 50 grams of chopped walnut is good for a regular loaf.
When is best to add mix-ins to sourdough?
When to add in your flavorings is entirely up to you. It also depends on the results you are going after. In general, there seem to be a few practiced methods.
1. Mix in at the flour and water stage
Opting to mix in at the beginning stage allows for the greatest flavor addition to your bread. It also contributes to the overall fermentation of not just your dough, but the added ingredients too. Depending on the added ingredients, they may stay mixed into your dough better when done at this stage.
2. Mix in just prior to baking
When choosing this method, you have the best chance of preserving the original flavor of the ingredients as they won’t have gone through any fermentation. They have a lesser chance of dissolving into the dough this way too. One great mix-in technique is to add them during a dough “lamentation.” Laminating dough involves spreading it out very thin across a large surface area, then doing a series of folds. Extra ingredients have a much easier time staying inside the dough when this is done.
3. Spread over the top of dough
If baking extra ingredients inside your bread does not appeal to you, many bakers choose to add ingredients as toppings instead. This is done just before baking. Choosing to make your flavor ingredients toppings can help your overall bread aesthetic. The downside is that the flavor doesn’t penetrate throughout the dough, but acts like a separate addition instead.
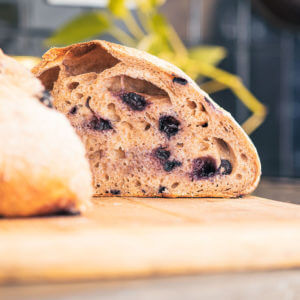
Blueberry Sourdough Recipe
Equipment
- Mixing Bowl
- Baking Pan
- Kitchen Scale
- Scoring Knife
Ingredients
- 600 grams flour recommended: 70% white (420g), 30% whole wheat (180g)
- 390 grams water (65% hydration)
- 150 grams blueberries fresh or frozen
- 60 grams sourdough starter bubbly and active
- 12 grams salt (2% of flour weight)
Instructions
- Mix 600g of dry flour with 150g of blueberries. Then add 390g of water, and gently form ball of dough.
- Autolyse dough for 10 minutes to an hour.
- Mix in 60g of active starter. Active means to use your starter after it has doubled (or more) since your last feeding.
- After waiting 15 minutes, mix in 12 grams of salt.
- Complete a series of stretch and folds. Space each set 20-30 minutes apart. Grab one edge, and shake or wiggle it upwards (stretching it), then fold it over and onto itself. You can do this in 3-4 spots. This is considered a set. Repeat for about 3-6 sets. You're done once the dough feels noticeably stronger and/or once you notice the dough starting to rise. Avoid tearing the dough during this process.
- Bulk ferment (AKA "bulk rise") your dough! Let dough rest while covered at room temperature. Generally this can take anywhere between 2 and 8 hours. This is finished once the dough has doubled in size and has a round or domed surface at the top. If you're using a clear container, you should see bubbles in the dough (similar to the bubbles you'd see in a starter). Square containers make tracking size much easier.
- Now it's time to shape your dough. Place you dough onto a working area that you have either sprinkled flour on or spread a little water on. Stretch the dough out, and then fold it back into itself. Then form a ball out of the dough. This is meant to build pressure in the dough. It's difficult to explain in writing ~ watching a YouTube tutorial on proper sourdough shaping technique is recommended.
- Optionally: place dough into a refrigerator (that's set below 4° C / 39.2 F) for a cold fermentation. At these temperatures the wild yeast will nearly become completely inactive, while other acids and gasses stay active. Cold ferments are excellent at further developing the flavor. If your fridge is cool enough, dough shouldn't be rising much if at all. You can do this anywhere from a few hours to 48 hours.
- Prepare dough for baking. You can let your dough come back to room temperature, or do while it's cold. Sometimes an additional shaping is necessary. Oil the surface of your dough, then lightly sprinkle flour over it. With a bread scoring knife, create at least one score just off center, or score in whichever pattern you like. Scoring helps to allow steam to exit your dough during the bake. If you don't have a proper scoring knife, other sharp knives will work too.
- Preheat oven to 475° Fahrenheit (246° C) and bake for 1 hour (time may vary depending on your setup). This is easiest when using a dutch oven. Make sure to line with an appropriate parchment paper and cover with lid. If opting to bake on a pan, you can either use steam injection if you have it, trays with an ice/water combination, or use tin foil.To use tin foil, place both underneath your pan (shiny side down) to prevent the bottom from burning, and atop the dough (shiny side outward) to prevent the top from burning. This is the best method for open bakes when you don't want to use steam.Remove lid or (top) foil 10-25 minutes before bake is done. Your bread should become a light or dark golden color. If you have a thermometer, you are aiming for an internal temperature of 94°-98° C (201°-208 F).
- Allow bread to cool on a baking rack for 1 hour. Obviously this is optional. If you skip this step, the dough will almost certainly be gummy on the inside. Some of the time, it's totally worth it! Enjoy!

Leave a Reply